
Instructions
Below you will find specific instructions on how to use our grow offerings. Give them a read, and if you still need some help, give us a call here at the farm.
Thank you for your purchase! Please do not hesitate to contact us if you have issues. Reach us between the hours of 10 am to 4 pm EST at 304-303-5514.
(If you ordered via Etsy, please message us there.)
NOTE: IF YOUR BLOCK WAS DAMAGED IN TRANSIT OR CRACKED WE KNOW THIS IS A BUMMER BUT DON'T FRET JUST SMOOSH IT BACK TOGETHER AND WAIT TILL THE MYCELIUM HAS REPAIRED ITSELF AND THE BLOCK IS FULLY WHITE.

1. Shiitake Grow Kit Instructions
- A huge thank you for your purchase! Now that you’ve opened up the box and seen your shiitake mushroom sawdust block, you should simply wait patiently until the block has turned a deep dark brown if it is not already.
- Pop your block in the fridge, or outside somewhere cold overnight so the shiitakes think it’s Winter.
- Take off the plastic surrounding your block and let the mycelium free, you can save this bag to make a humidity tent. Let your block bob in some cold water for 4-5 hours so the shiitakes think it’s Spring.
- To get your mushrooms pinning and thriving they need lots of air and humidity, so place your block on a tray, in a tub, or on top of the bag.
- Place the block in a humid place like next to the kitchen sink.
- If your house isn’t very humid, use the bag from the earlier step to create a humidity tent. Just poke or cut the bag so it is basically flat, then cut a bunch of holes in the bag and drape it over top of the block. Mist it twice daily. (Be sure that air can flow through the tent or exchange. Mushrooms put out CO2 and breath in oxygen. Without proper air exchange your mushrooms will look like mutants.)
- Once the block has little baby mushrooms popping up, you should see big ol’ mushrooms in less than a week!
- Harvest these guys before the caps turn/ curl up. Check the above photo for reference.
- You can get a smaller second harvest off of these blocks. Just let it rest and dry out for 2 weeks and then repeat steps 2-7.
NOTES: If you see any contamination simply cut it out with a flame sterilized knife! If the block arrives broken up don't worry it will heal!

2. Lion's Mane Grow Kit Instructions
- Well hello there! Thanks for choosing Hernshaw Farms. Now that you've opened up your box things, will be pretty easy.
- Place the Lion's Mane Grow Kit either indoors or outside in the shade under bright but indirect sunlight OR inside under bright artificial light. We recommend somewhere damp, perhaps next to your sink where the temperature is in the 70s. You can also fill up a bowl of water and sit it next to your kit to increase humidity.
- Once this roaring lion is in position, all you need to do now is slit the bag along the whitest portion or where baby mushrooms are popping up. You then tuck the top of the bag up under the bottom of the bag. This ensures for a tight fit and allows these mush babies to really grow well from the slit.
- If your block is not completely white please wait to slit
- With clean water, mist the slits to maintain high humidity. Small mushrooms will begin to form in approximately 1-2 weeks.
- Harvest clusters of mushrooms when the lion's teeth are a bit shaggy.
- Clusters will mature in approximately 7-14 days.
- To remove clusters, grab and twist. Always cook your mushrooms, and cook them with flair.
- After the kit has finished the initial fruiting, maintain high humidity levels around the block to get a second flush!

3. Oyster Mushroom Grow Kit Instructions
- Hey thanks for choosing Hernshaw Farms. Now that you've opened up your box things will be pretty easy.
- Place the Oyster Mushroom Grow Kit either indoors or outside under bright, indirect sunlight OR bright artificial light. We recommend somewhere damp perhaps next to your sink. You can also fill up a bowl of water and sit it next to your kit.
- Once this bad boy is in position, all you need to do now is slit the bag along the whitest portion or where baby mushrooms are popping up. You can then tuck the top of the bag up under the bottom of the bag. This ensures for a tight fit and allows these mush babies to really grow.
- With clean water mist the slits to maintain high humidity. Small mushrooms will begin to form in approximately 1-2 weeks.
- Harvest clusters of mushrooms before the caps unfurl.
- Clusters will mature in approximately 4-8 days.
- If stems are elongated and caps are small, increase light exposure. To remove clusters, grab and twist. Always cook your mushrooms.
- After the kit has finished the initial fruiting, maintain high humidity levels around the block to get a second flush!

4. Chestnut Mushroom Grow Kit Instructions
- With these dudes, it's super simple: just don't open it and keep it warm. Around 50 - 65F will do just fine. They are for intermediate growers and require a lot of patience
- When the sprouting pins start to be about 1.75-2.67 inches tall, open the top of the bag like you would a bag of potato chips (you can use scissors).
- Mist twice daily. Chestnuts take longer than most mushrooms but are definitely worth the wait expect at least 3 months if not longer till fruiting
- Harvest when they look like the awesome photo above, just pluck em off, and they're ready to go!

5. Reishi Mushroom Grow Kit Instructions
- Here's the one simple thing for Reishi Mushroom Grow Kits: do NOT open it.
- Keep the temperature at about 70F. No direct light, just indirect light.
- Reishi are essentially low maintenance hermits, but man they take awhile to grow - like a couple to a few months!
- Harvest when they look like the awesome photo above. They're tough guys so use a serious knife.
- Reishi are medicinal and great for tea, boil 'em, and give their incredible properties a try!
NOTE: We also carry a Reishi and Lion's Mane Tincture, if you'd like to supercharge your dose of medicinal goodness!

6. King Oyster Mushroom Grow Kit Instructions
- So our King Oysters can be a little tricky, so here is a great piece of advice: Just don't, do not, open it.
- Keep it about 50-60 if possible . No direct light, just indirect light. Make sure to pay good attention to the light and temp with King Oysters!
- When they get to be about two inches tall, you're ready to open the bag.
- Cut it open across the top (like a bag of potato chips) and mist twice daily!
- Harvest when they have huge stems and good looking tops.
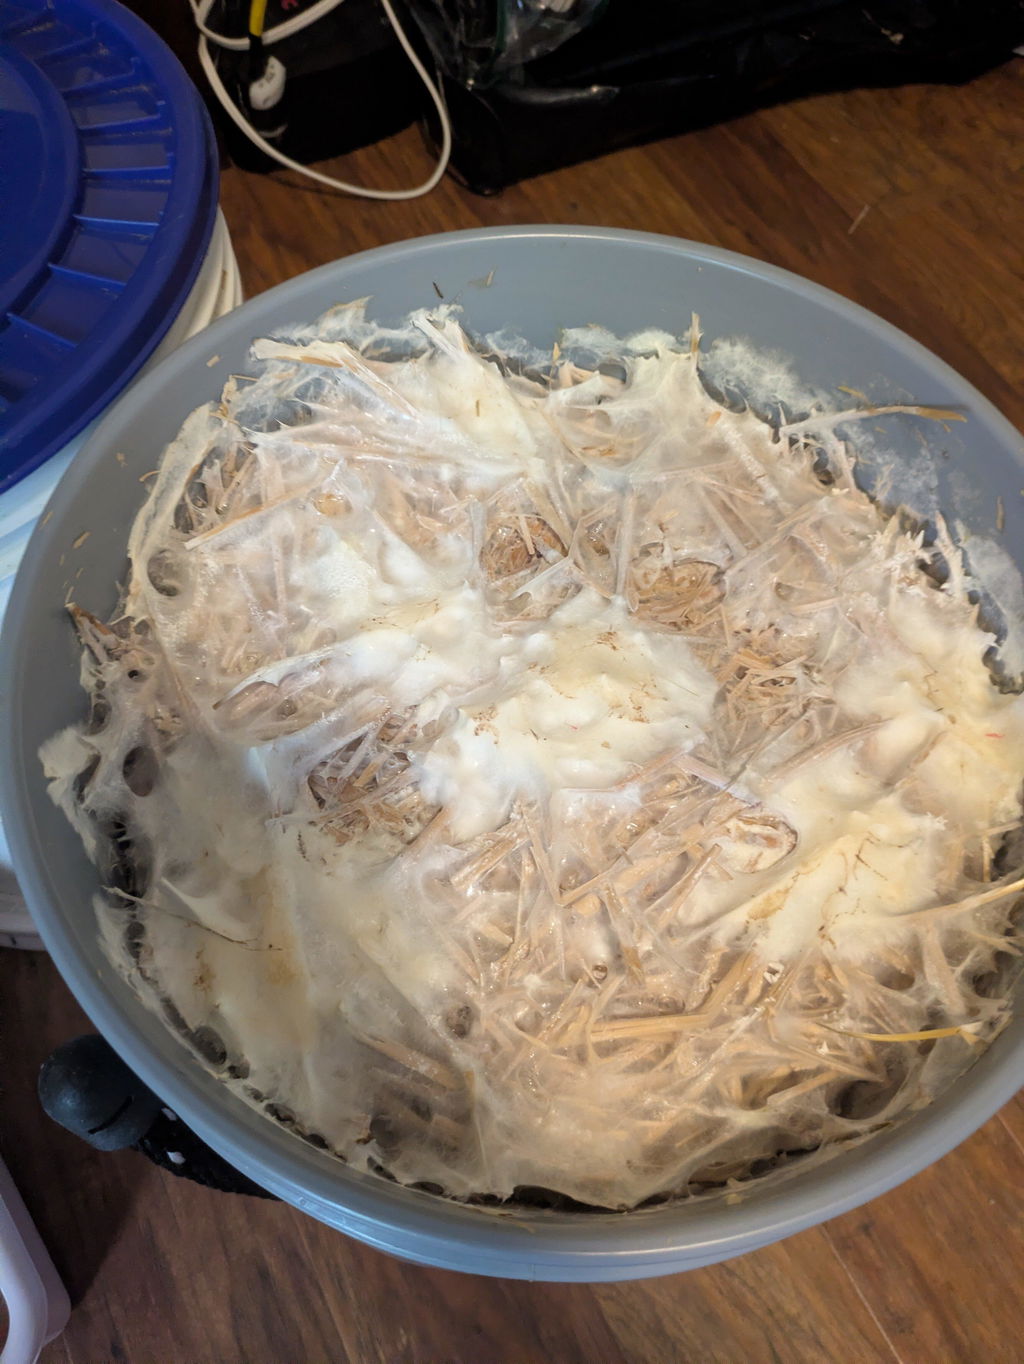
7. Mushroom Injection Block Instructions
We're glad to be a part of your mushroom journey! Be sure to inoculate your injection block as soon as you can. If it has any defects please let us know immediately. If you cannot inject immediately please refrigerate.
- SUPER CLEAN: Clean your area like crazy, practicing sterile procedures.
- FLAME ON: Flame sterilize the needle of your spore syringe with a lighter.
- SAFETY FIRST: Inject with 4cc's of your desired strain then pull needle out slowly. For added protection, you can place tape over the top of the injection port.
- Simply set the sealed block in an area that has the proper temperature for the mushrooms to colonize.
- MYCELIUM = ROOTS (but cooler): Wait until your block is colonized with mycelium Determining this depends on your species, but for the most part the block hardens and turns white. This may take a few weeks.
- LITTLE DUDES: Once it is colonized wait for it to start pinning or for baby mushrooms to start popping up.
- SHOWER TIME: After wee mushrooms pop out. Open it and spray those bad boys with water twice daily.
- YUM: Pick mushrooms before the caps curl all the way up and enjoy!
Also BE SURE TO FLAME STERILIZE BETWEEN INJECTIONS
This block is contamination resistant with the proper skills! Each block is equipped with its very own high-grade micron filter and is already impulse sealed. If you are not able to use immediately please refrigerate.
It may take up to 3 months to see results. Be sure to use the proper CC for your block size. Liquid Culture syringes must be stored properly and should be milky white with cool looking floating mycelium if properly made.
12lb block 12 cc
6lb block 3-7 cc
3lb block 1-2 cc
PLEASE REACH OUT VIA ETSY OR EMAIL WITH QUESTIONS OR CONCERNS 🍄
REFUND OR RESHIP
If you believe you need a refund or reship please contact us at support@hernshawfarms.com or 304-303-5514.
NOTE: If you're not sure which product you have, reach out, and we will make sure you're ready to grow with the right set of instructions!